Tips for Zoom Meeting Settings and Asking Questions for a Large Lecture Class
By Christa Bancroft – March 23, 2020
Hello! My name is Christa Bancroft and I am an Associate Professor of Teaching in the Biological Sciences department. I have also taught online classes for the Nursing Program in the Suzanne Dworak-Peck School of Social Work for the last four years, so I have lots of practical experience running small classes on Adobe and Zoom. Moving online for a large lecture class presented some new challenges and these were things I discovered during my first foray into online teaching for 100+ students….
Tips for Zoom Meeting Settings for a Large Lecture Class
Pre-Class
Meeting settings:
I would highly recommend the following settings when you are creating your meeting.

A. Enable join before host. I like to allow students to join the room before me so that they can get set up before the meeting
B. Enable mute participants upon entry. Muting upon entry keeps the background noise to a minimum when students are getting set up and ready for class (and don’t realize they are being broadcast to the class).
C. Uncheck “Enable waiting room”. This is probably the most important one! It allows students to enter at any time without your permission. This is particularly important if students arrive after class begins. If you enable waiting room, you will hear a doorbell chime for every student that wants to enter. This might be ok in a class of 12, where one student is late, but in a class of 100, the ringing doorbells are highly distracting as you admit students while you are in the process of teaching.
D and E. Authenticating Users and Breakout Room Pre-assign. These two are personal preference. I don’t restrict entry to authenticated users because it’s highly unlikely anyone else would have the link and want to enter my upper division biochemistry class. If you are teaching sensitive content, then this might be advisable. I also don’t typically pre-assign breakout rooms. Zoom can assign students to breakout rooms randomly, which I prefer, but if you have groups you want to keep intact, this is a nice option.
F. Enable record the meeting. This is important for any students who are absent from class and the automatic transcription of the audio is important for DSP accommodations.
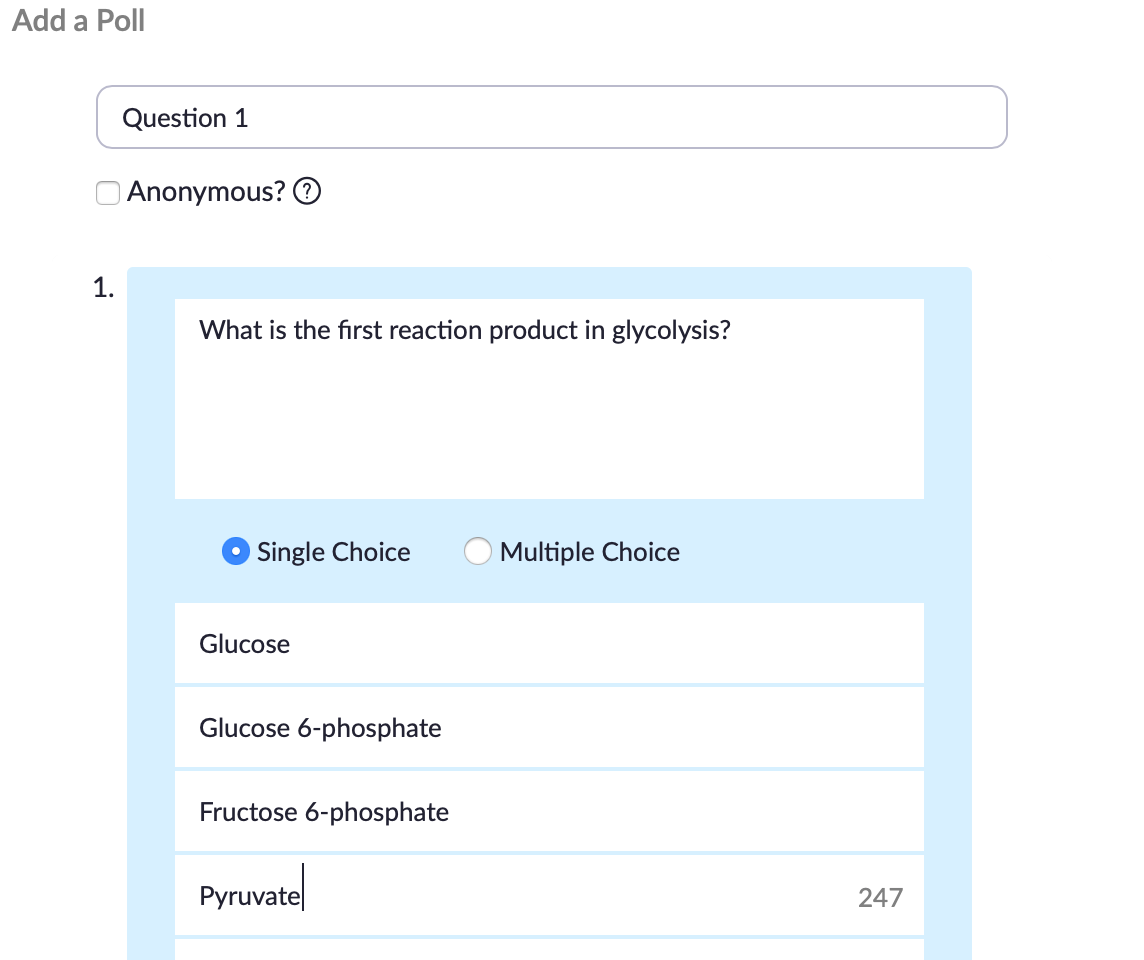
Create Polls for interactive questioning during class:
Use the polling option to formally ask questions and get responses during your class. This is equivalent to asking “clicker questions” in class and you can have students answer anonymously or record answers for each student.
Step 1: Go to “upcoming meetings in your Zoom account” and select the meeting to which you want to add a poll.

Step 2: Scroll to very bottom of the page and select “Add” next to “You have not created any poll yet”.

Step 3: Click “Add a question”. This will specifically add a question to the class or meeting you are working on. You’ll see a box like this (below). Type in your question and answers.
Click “save” when finished. These will be saved to your meeting and you can launch them during class.
During Class
Turn on student video:
In a large class, you won’t be able to see everyone on screen at a single time, but I would still request students to turn on their video so you have an audience and everyone can see each other. Make sure to remind them of proper decorum before class (appropriate dress, video location, etc.). Attached is a document on with some tips for students on this topic.
Chat box:
Keep the chat box open so that students can post questions. You can answer them immediately or wait until you have a break in your flow to answer those that have been posted.
I find that students actually ask more questions in Zoom online. Maybe it’s less scary typing out a question in a chat box than raising your hand in a class of 100!
Launching polls:
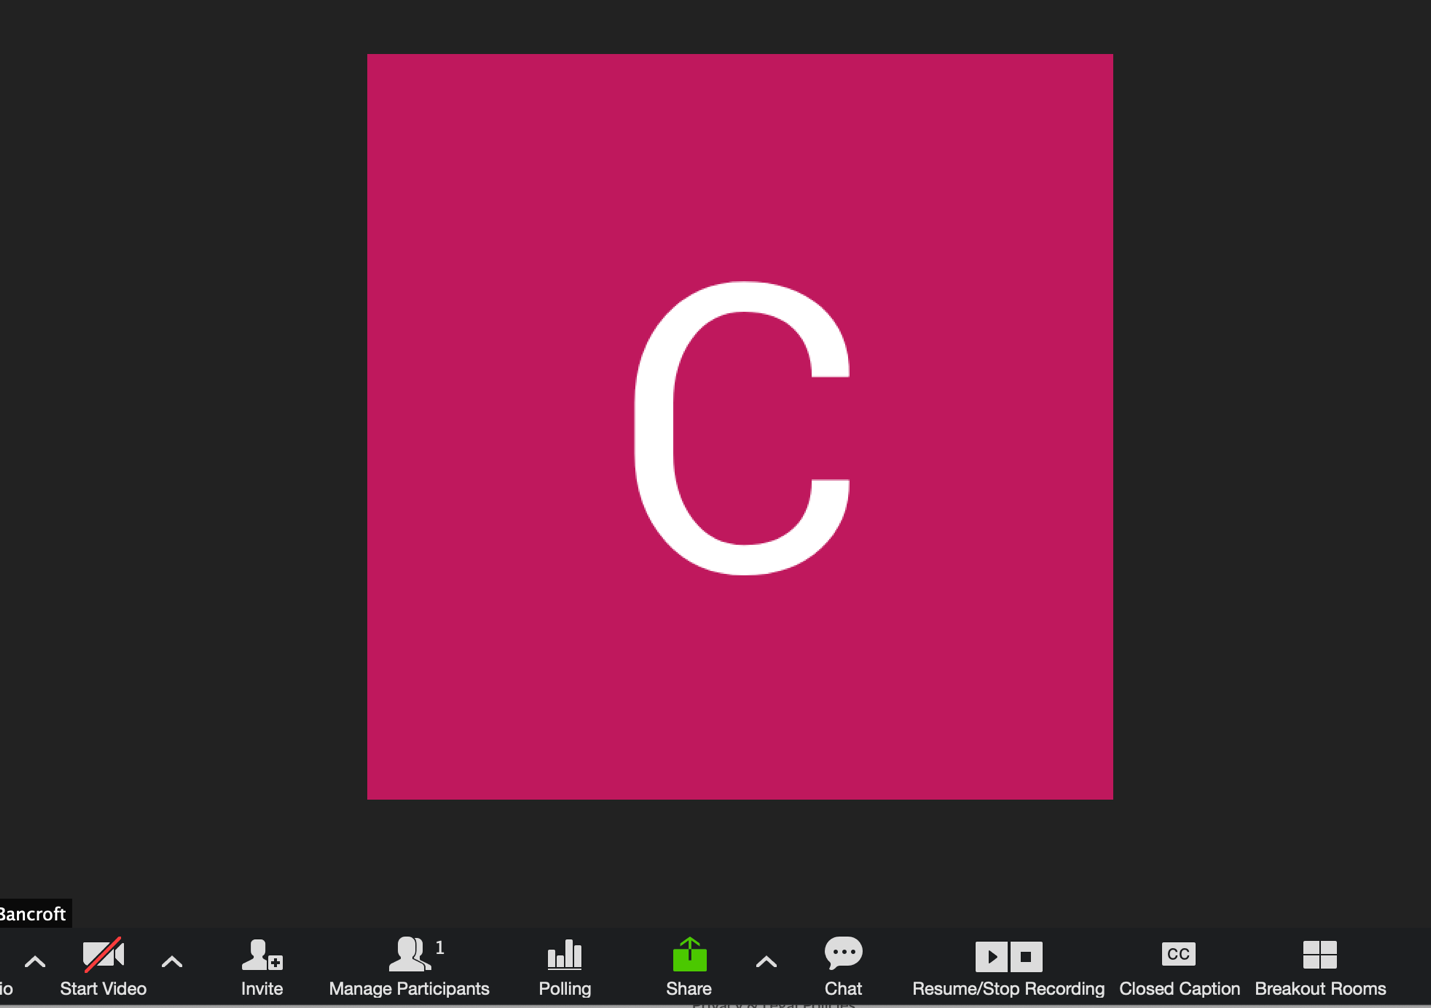
During Zoom class, launch the polls you have created by clicking the “Polling” button on the bottom of the screen.
After Class
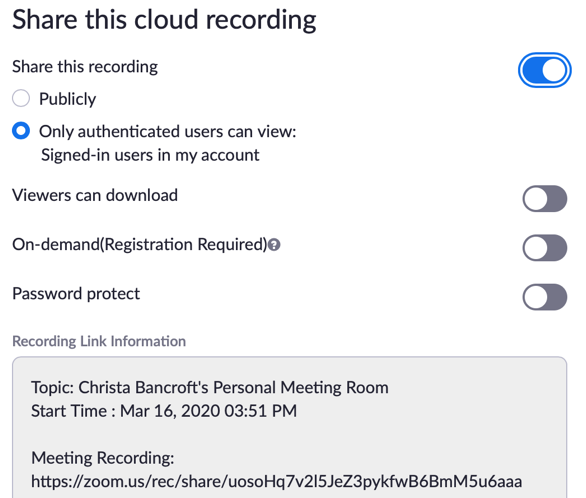
In your Zoom account, you can find the recordings of your meetings.
If you select “Share” for the meeting, you can select the settings you want for each recording and get a link to share with your students. In the same location, you can directly download the recording. This is helpful if you want to save them for yourself or distribute them to a student directly via email (ie. if they have trouble accessing the recording via the link for some reason).